Hello Friend with Aga


Sadly today is the last post for our April guest, Aga.  Her cards this month have been one layer works of art, and this week's card is no exception!  Here's what she has to say about it:


Hello Everyone! The month has flown by and I’m back with my final card as a guest designer at Neat and Tangled. 

My today’s card features the Scandinavian Prints set. I'm smitten with those whimsical flowers and couldn't wait to get started. I decided to create a kind of geometric pattern like the ones I used to make as a kid with a kaleidoscope tin, one of my favourite childhood toys.


I stamped a sentiment in the centre of my card, and then using shades of blue and green I started creating my pattern around it. 


Thank you for joining me, I had so much fun sharing my projects with you. And thank you so much Neat and Tangled, for inviting me to guest design this month! It was truly an honor!

Thank you Aga!  It was truly our pleasure!!!
7

Punchinella with Laura

Hello there! Laura here and today I have a fun project to share using the awesome new Punchinella die.
Neat & Tangled-Punchinella
I ink blended a panel, adhered it to fun foam and then ran it through with the Punchinella die. How fun are these little dimensional dots?
Neat & Tangled-Punchinella
I embossed the hugs sentiments from Better Together in white onto black cardstock and fussy cut it out to adhere on top of the dimensional design.
Neat & Tangled-Punchinella
Here's a video to show you how I created these cards.
16

Wonderful Things

NT 427 3

Hello! It's Rubeena, and I'm here to share a guest post with you on the Neat and Tangled Blog today! In my last guest post, I created a card expressing love for the little things in life. For some reason, I ended up with another card that shares the same life perspective. Neat and Tangled products are perfect for motivational and uplifting cards! I used a few different sets to create this white on white look with a touch of color.

  NT 427 1

I started with a 4.25" x 5.5" watercolor panel that I covered with pink and black watercolor splatters. I die-cut a rounded rectangle frame diagonally and set aside the inside piece. I added foam tape behind the negative frame and attached it to my A2 folded cardbase. Using separate white card stock, I die-cut the Punchinella Nice and Neat Die, which I attached to the center of the frame (making sure to remove all the circle pieces). This die is so fabulous and unique! Next, I wanted to add some floral images around the die-cut so I stamped and colored images from Hand Stitched. I colored them with light shades using Copic markers and fussy cut them. I arranged them with foam tape around the frame.

  NT 427 2

Next, I stamped the girl with her teddy bear from Better Together and colored with Copic markers. I fussy cut it and added it over the card. The sentiments from all the Neat and Tangled stamp sets are wonderful, but my favorite ones are from Origami Map. I stamped it on a white card stock strip ink pink to coordinate with the colored images. I added a strip of gold glitter cardstock behind it and added it to the bottom of the card. To finish it off, I added some sequins from Mint Mix.

NT 427 4


I hope you enjoyed today's inspiration! Thanks so much for stopping by!

5

Neat & Tangled / Hemptique Collaboration Week 4

Happy Tuesday!  Can you believe that it's already the last week of April?  Today is our finally Hemptique collaboration post.

Each Tuesday this month we have been showcasing projects that combine Neat & Tangled and Hemptique products.  Be sure to leave comments on these posts we're picking a lucky commenter this weekend who will win a Hemptique prize pack.

Today Mayuri, Taheerah, Danielle, and Sveta have cards to share.

First up is Mayuri:

©Candles in the Garden. Neat and Tangled collaboration with Hemptique.


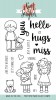
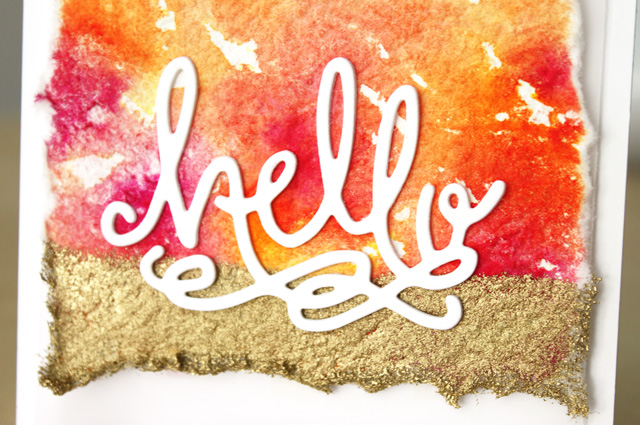
I used some of the Hemptique Handmade Hemp paper to create a background panel for a little word die-cut. The paper is very absorbent, and soaks up water really well - its great for simple watercolour washes.

©Candles in the Garden. Neat and Tangled collaboration with Hemptique.


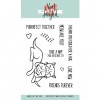
I wanted to keep the card really clean and simple, and actually, this design would work well for mass producing a bunch of cards. So I simply foam mounted the watercolour panel to a card base and adhered the 'Hello' die-cut piece to the front.

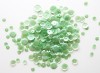
To finish, I added a couple of sequins from the Gold Mix.

Onto Taheerah now, who also used the wonderful handmade Hemp paper on her card!


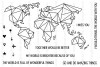
I decided to use my hemp paper in the same manner as you would watercolour paper! I tore a piece to roughly the same size as an A2 card then used the flower stamps from the Send Pretty Mail to create my hydrangea-like flower!


I used a mix of Distress Inks and misted my stamp each time with water for that watercolour look, then used a damp brush to move some of the colour around. Once dry I used a grey pen to draw some of the detail back into some of the flowers for a whimsical look!
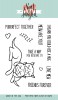

The sentiments from Better Together worked to finish the card without distracting from that flower, and some sequins from the Warm Golden Glow shaker mix coordinated perfectly as accents!

Next we have Danielle.  She and Mayuri had a bit of a mind meld this week, but look at how different this card is.


Rather than painting a wash on the paper, she was a little more random with the painting, allowing some white portions to remain.  She also used a heat gun to speed up the drying process.  Then she added gold embossing to the bottom.  The texture she achieved embossing the paper looks amazing doesn't it?


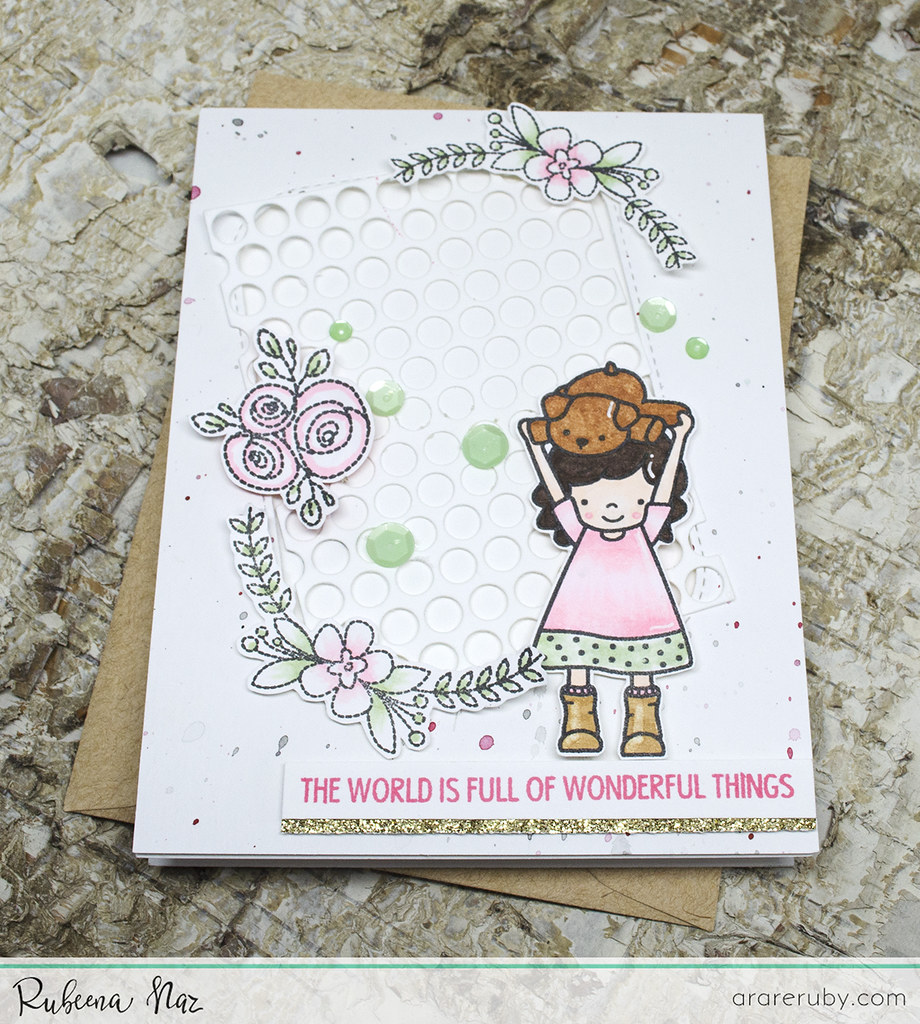
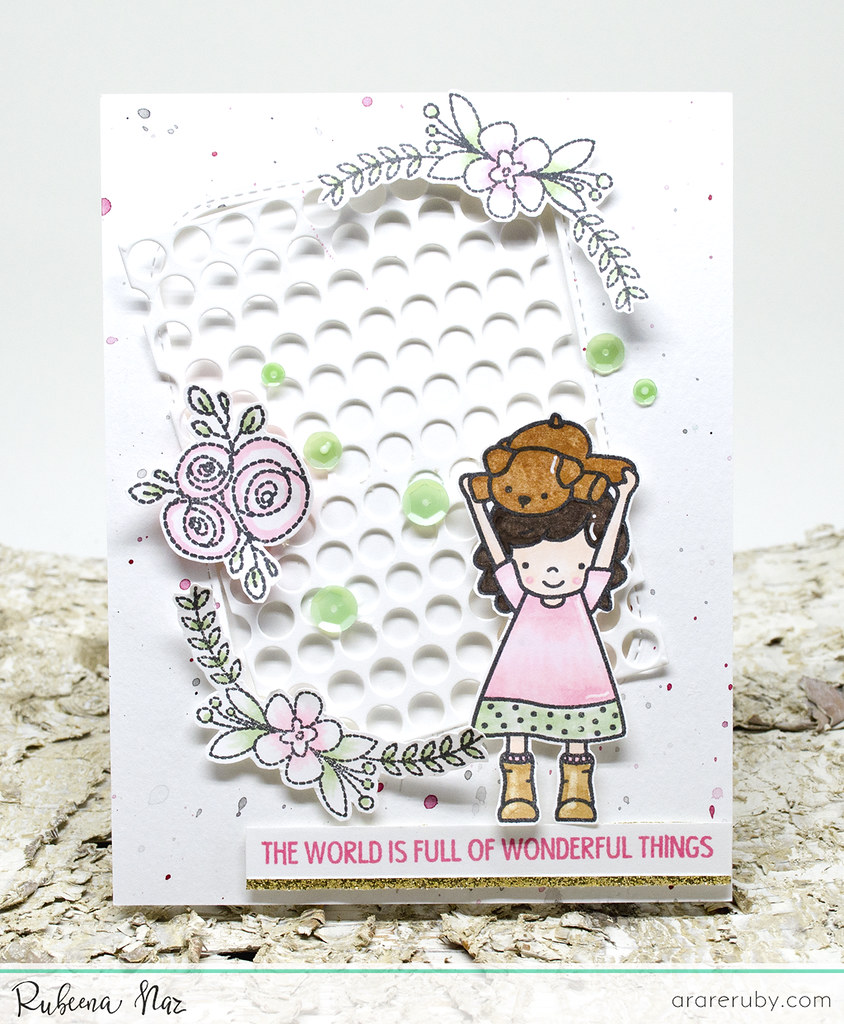
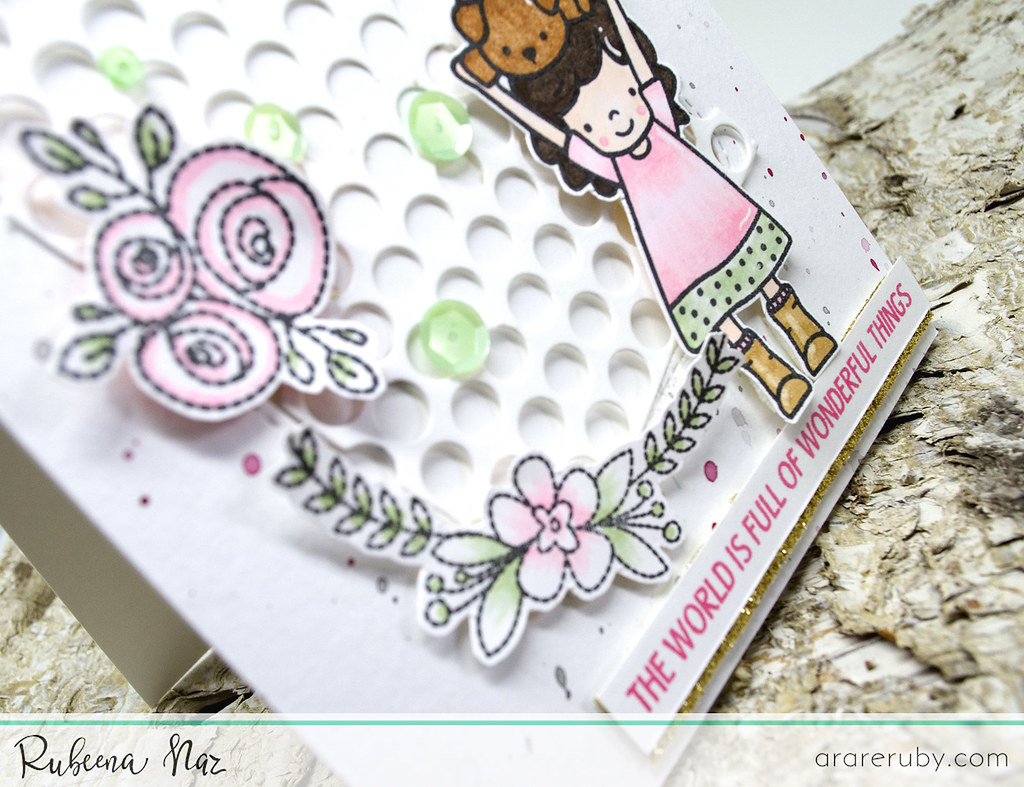
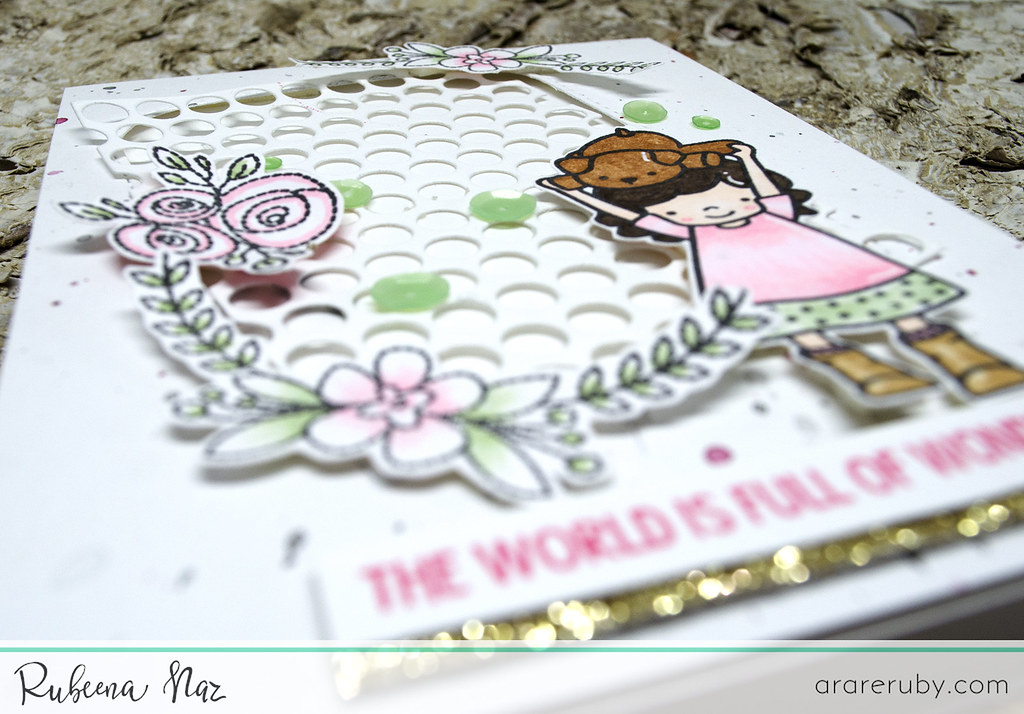
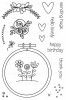
Last, but not least, Sveta created this card with a wonderful homespun feel.  Sveta used our Hoop Die and Handstitched stamp set.


She started by creating a simple pattern randomly stamping the grouped cross stitch stamp.


The texture of the hemp paper perfectly mimics fabric for the center of the hoop, and the use of different colors heightens the realism.


Wasn't this a great way to end our collaboration with Hemptique?  Be sure to stop by and leave them some love for them on their Facebook page, they are hosting a Neat & Tangled giveaway over there too.  Don't forget we'll be picking a winner this weekend, so be sure to leave comments on all the Hemptique posts!
21

Watercolour plumes using Scandinavian Prints

Hello there!

Mayuri here to share a card using one of my favourite stamp sets from the March Release - Scandinavian Prints!

©Candles in the Garden. April 2016 Neat and Tangled post. Scandinavian Prints and Dylusions Inks.

I'm always looking for different ways of using my supplies, and for this card, I wanted to see if I could achieve a watercolour effect by stamping with lots of water and Dylusions Inks - I love the intensity of the colours in this range, even if they are meant to be used as sprays ;-)

©Candles in the Garden. April 2016 Neat and Tangled post. Scandinavian Prints and Dylusions Inks.

I began by putting some droplets of various Dyslusions Inks onto my craft mat and adding a bit of water to each colour to create a large enough surface area for me to ink up my stamps. I then liberally spritzed a panel of white cardstock with water and stamped some of the solid images from the set.

©Candles in the Garden. April 2016 Neat and Tangled post. Scandinavian Prints and Dylusions Inks.

I stamped with the red first, allowing the impressions to bleed a little before heat setting. Then I repeated with the pink and yellow, heat setting in between. To add some depth, I inked up the edges of the same stamps and stamped over the original impressions. I went in with some black ink for a bit of dimension to the plumes of colour.

©Candles in the Garden. April 2016 Neat and Tangled post. Scandinavian Prints and Dylusions Inks.

To finish up, I heat set the whole panel before foam mounting it to a card base, adhered some sequins from the Gold Mix and a sentiment from Scandinavian Prints.

Thanks for stopping by!
6

Thank You For Always Being There


Hi, everyone! Today's card combines Scandinavian Prints and Purrfect. The March Release was so fabulous and I love how all the sets mix and match so nicely! Since April is our collaboration month with Hemptique, I made another card using their cord, which is my absolute favourite. I own at least a dozen spools!


To create this card, I started by stamping the sentiment as a guide for the row of flowers from Scandinavian Prints. Then I stamped the flowers and added some shine with a Wink of Stella brush pen and sequins. To ground the flowers, I used a coil of variegated cord, held in place with tiny staples. I stamped and coloured the adorable kittens from Purrfect using Copic markers. Lastly, I sponged around the edges of the front panel with a couple of distress inks.


Please be sure to visit my blog for a complete supply list. Thanks so much for stopping by!

Sources:

6

Shaker Card and Ornate Frames with Daria

Hi friends,

Hope you are having a nice day :) Today here is Daria with a shaker card. In one of my earlier videos, I've promised to make a shaker card using our Ornate Frames Stamps and Dies. So here it is :)


To make my shaker frame, I blended some distress ink in Twisted Citron, then, stamped the last and the smallest layer from rectangle Ornate Frame, and finally, die cut it with coordinating die. Easy :)

Fort the sentiment, I combined two of our latest stamp sets: "You" from Better Together and "We are celebrating..." from Itty Bitty Welcoming Committee. I love when all the sentiments work so well together.

Hope you liked it :)
Thank you so much for visiting!
Hugs
8
Back to Top